- Knowledge Base
- Lookahead
- Functionalities
Outbuild iPad App - Complete Feature Overview
This article will cover all of the features of the Outbuild iPad app enabling your field teams to update and build out the Lookahead while walking the job site!
Outbuild continuously releases new updates for the Outbuild iPad app. Make sure you are using the latest version, so you don't miss out on any new features!

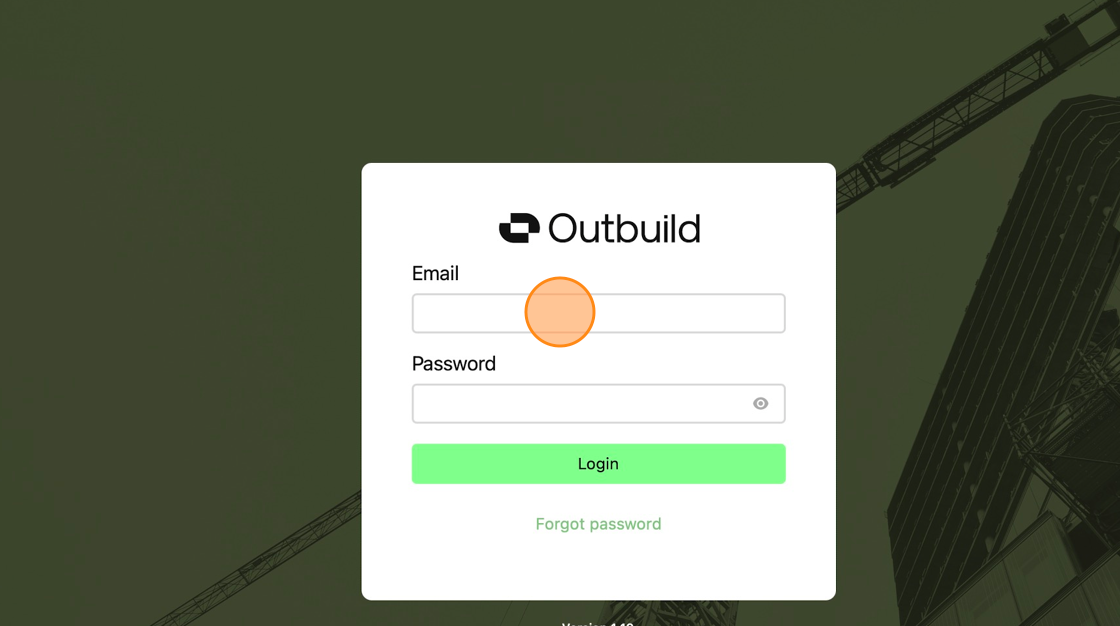
1. After downloading the app from the App Store on your iPad device or desktop, login using your Outbuild credentials.
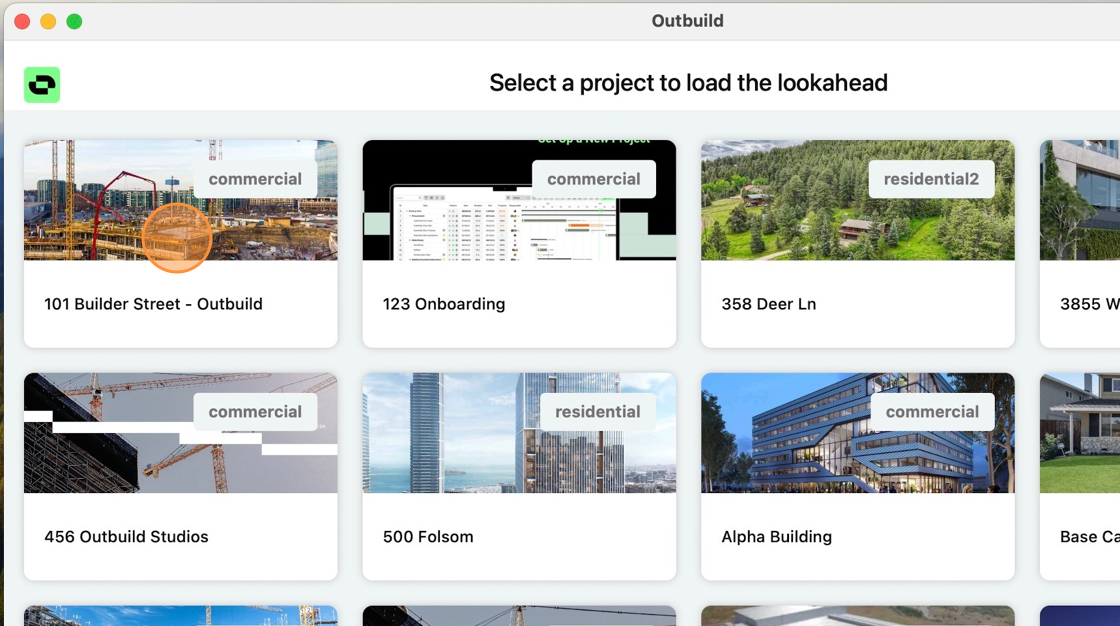
2. Select the Outbuild Project to load the Lookahead.
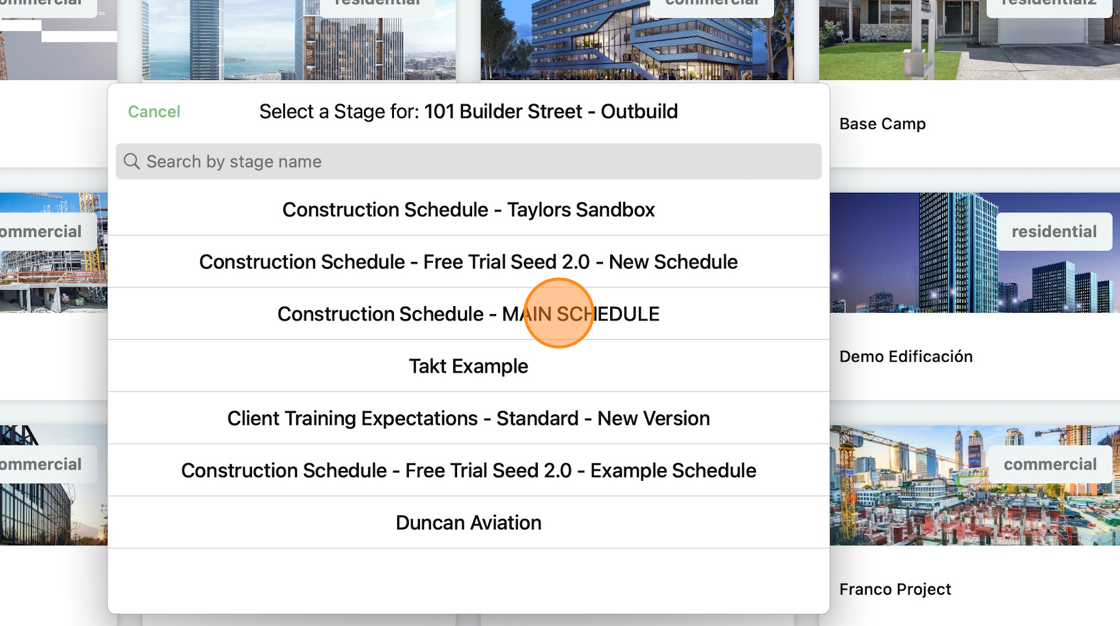
3. You will then choose the stage of the Project. Each stage or schedule will have its own lookahead as Stages are separate schedules within the same Project.
4. You can now start updating and building out your Lookahead. Double tapping on a Task name will allow you to edit the task name.
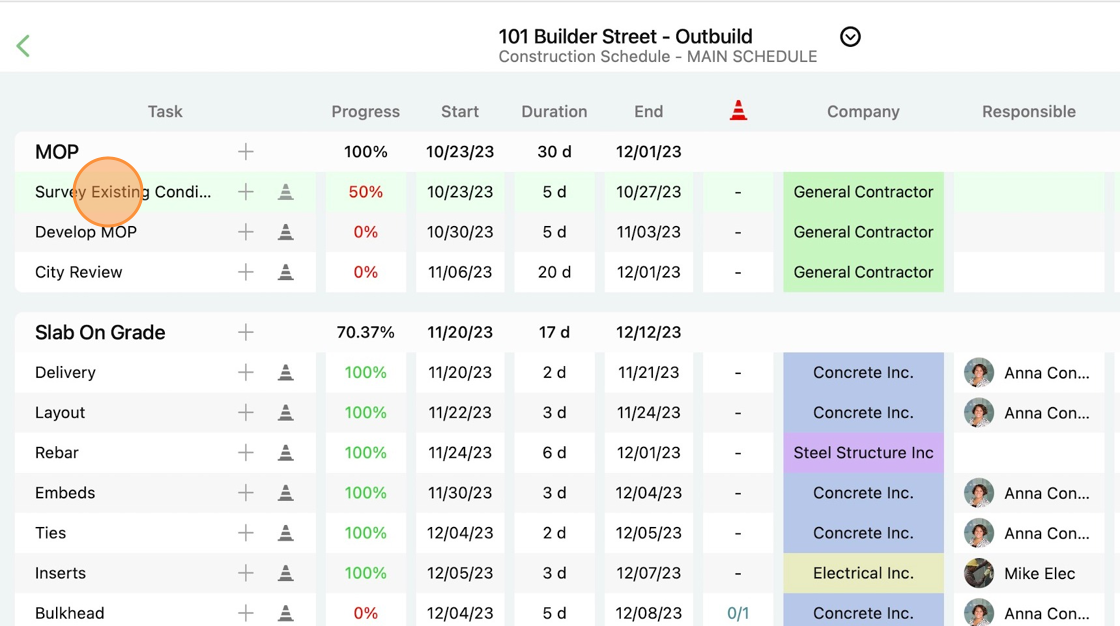
5. Enter in the New name and tap the green Apply button. This change will automatically sync to the desktop version of Outbuild, so your Lookahead is always updated in real time, whether you are on the iPad or your computer.

6. Tapping the "+" next to the Activity name, will add a new task to that activity. Similarly tapping the "+" next to the task will add a new subtask.
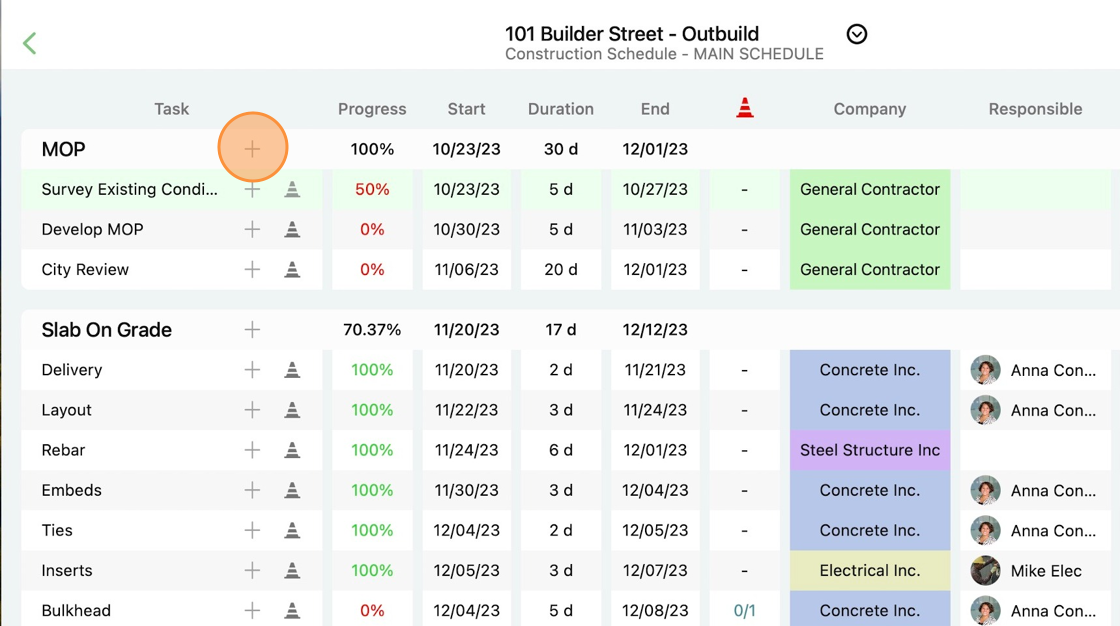
7. After you hit the "+" you can choose task Name, Start Date, Duration, Company, Responsible, and Tags.

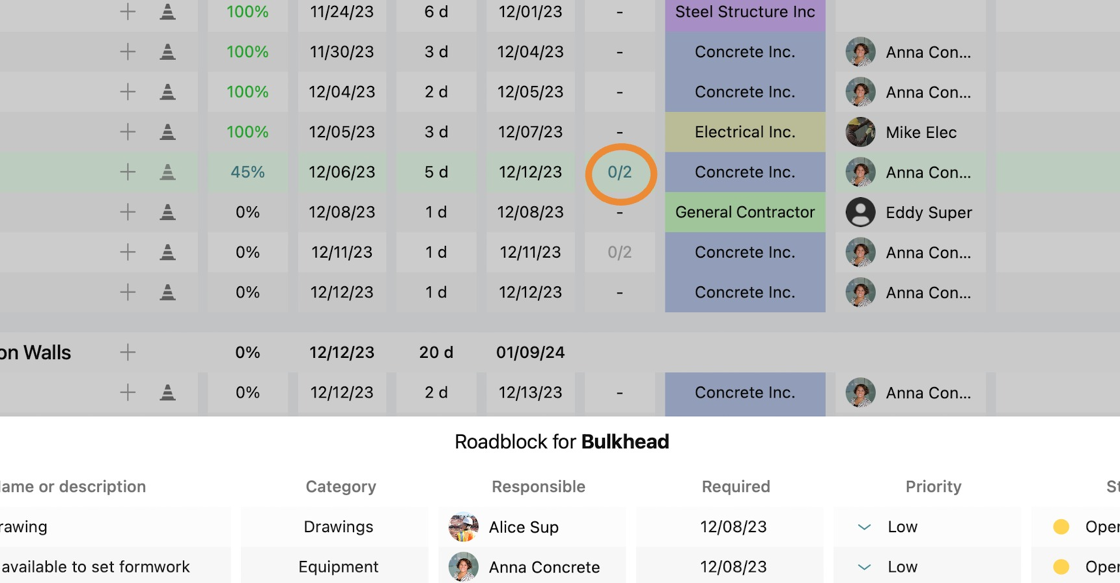
8. One of our most anticipated app features was the ability to add roadblocks. Now you can track constraints in real time while walking the job site! Simply double tap the traffic cone to add a Roadblock to that task.
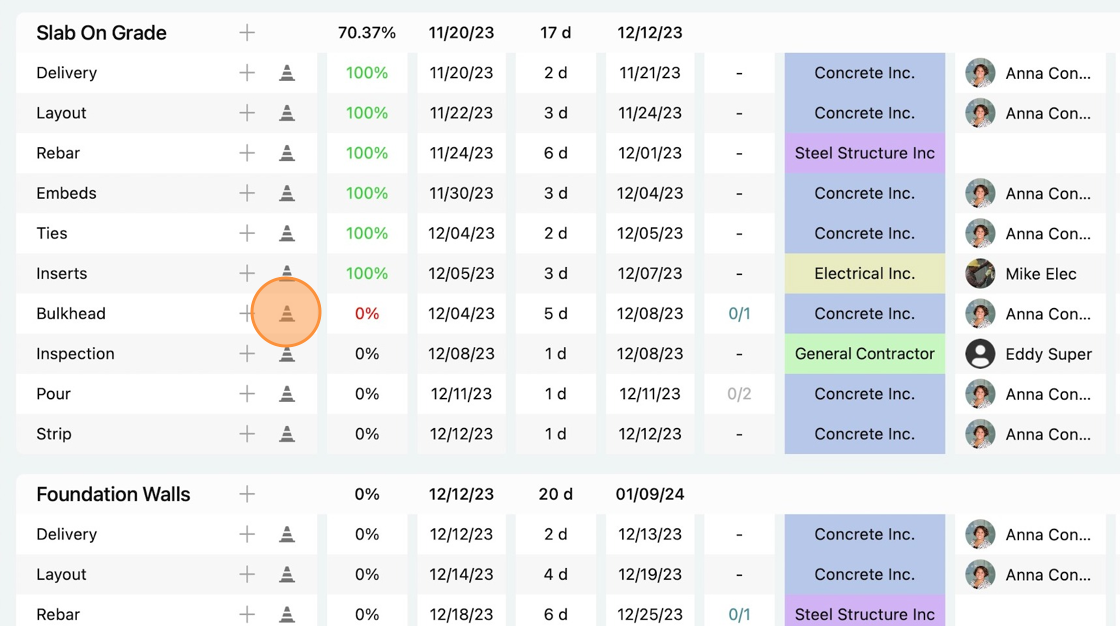
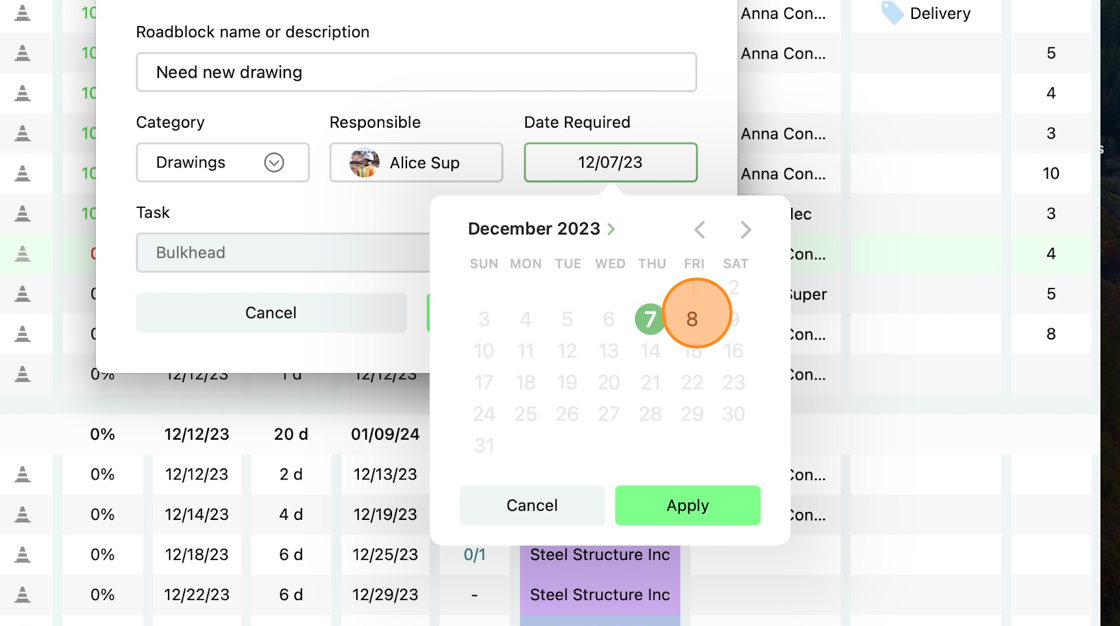
9. You will create the Roadblock by entering a Name, Category, Responsible, and Required by date. The Responsible party will receive an email that the Roadblock has been assigned to them just like in the Web version of Outbuild.
10. If you double tap on the number of Roadblocks, you can see the Roadblock card to reveal the details of the Roadblocks for that task.
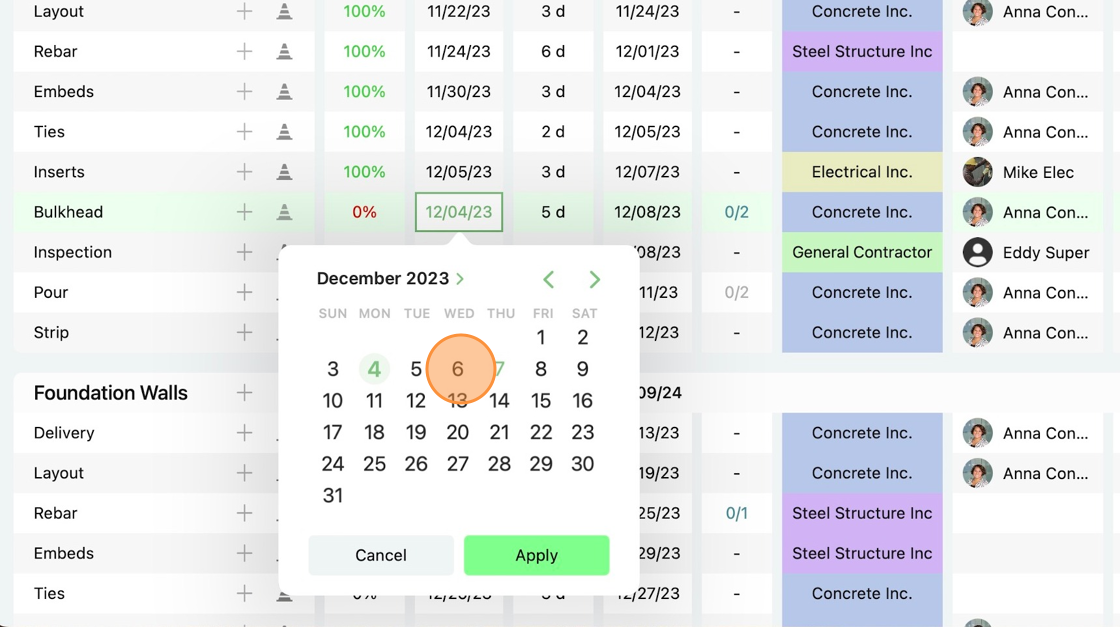
11. You can also change the State Date of your tasks by selecting the date, choosing a new date, and hitting the green Apply button.
12. In the same fashion, you can easily change the duration of your tasks.

13. The Outbuild app allows you to assign or modify the company assigned to each task.

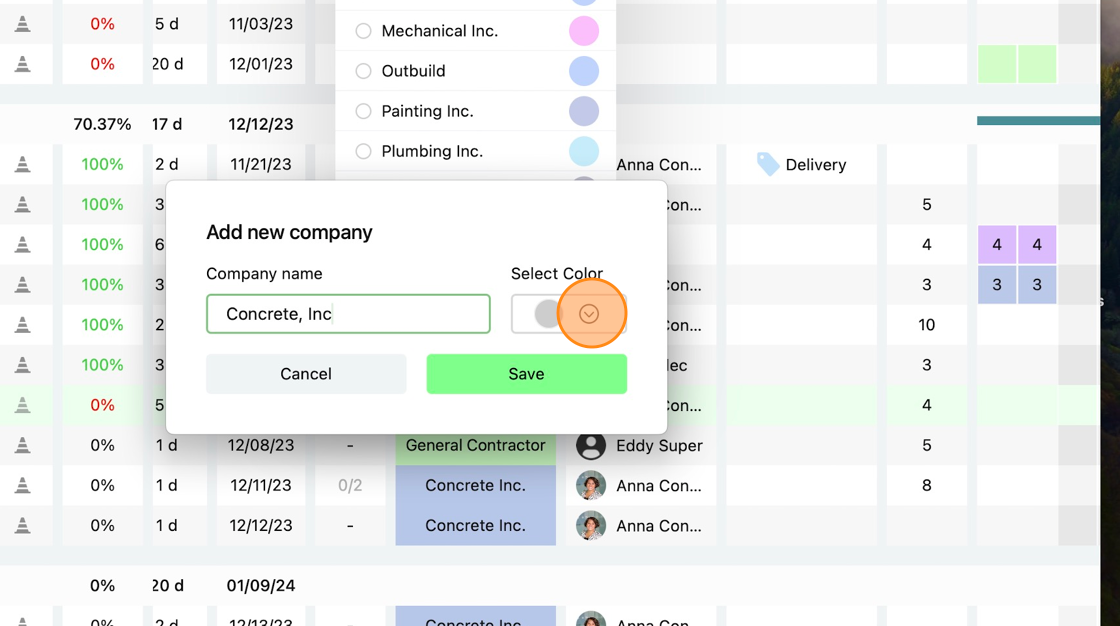
14. We have even added the ability to create Companies for any last minute sub changes.

15. To add a Company, you just enter the Company Name and choose from a selection of preset colors.
16. If the Responsible party changes, you can update the lookahead by deselecting the responsible party and selecting the new Responsible party. You can also add more than one.

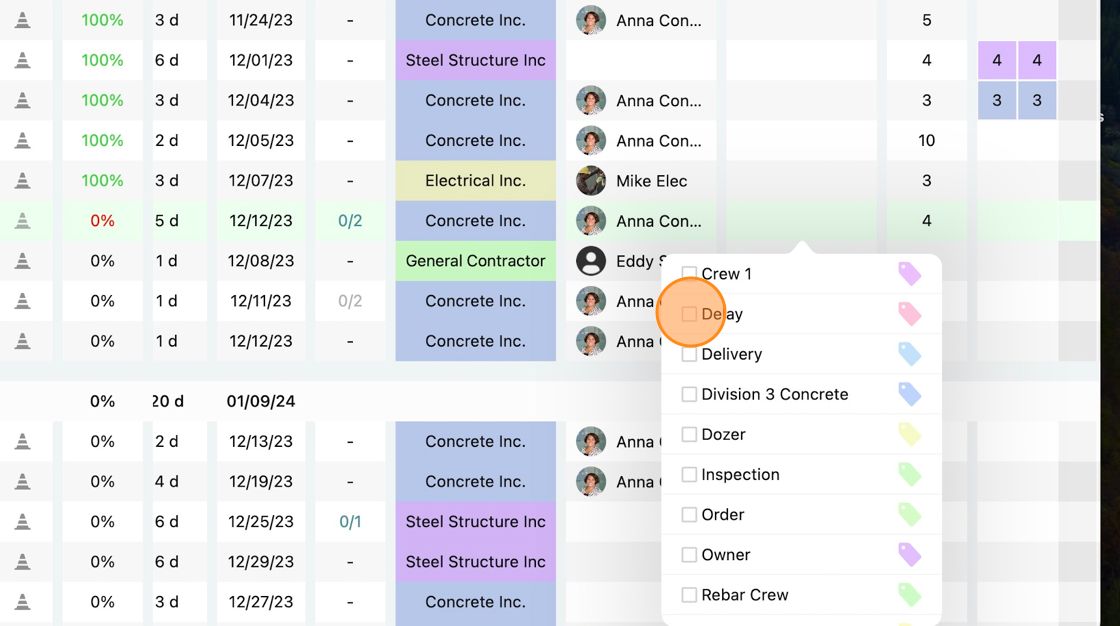
17. Next, you can utilize Tags to flag your high risk tasks, delayed tasks, or any other grouping that is helpful to your team. Tags are like sticky notes and can fully customized to your team's needs.
18. To change the Crew Size, simple select the current crew size number, choose a new crew size, and hit the green Apply button.
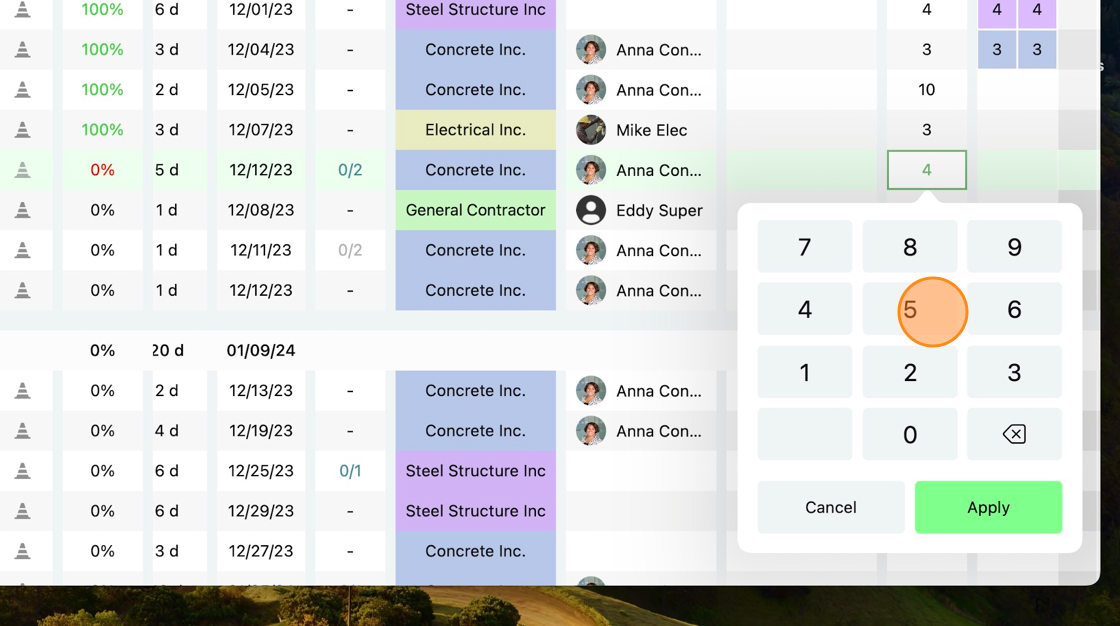
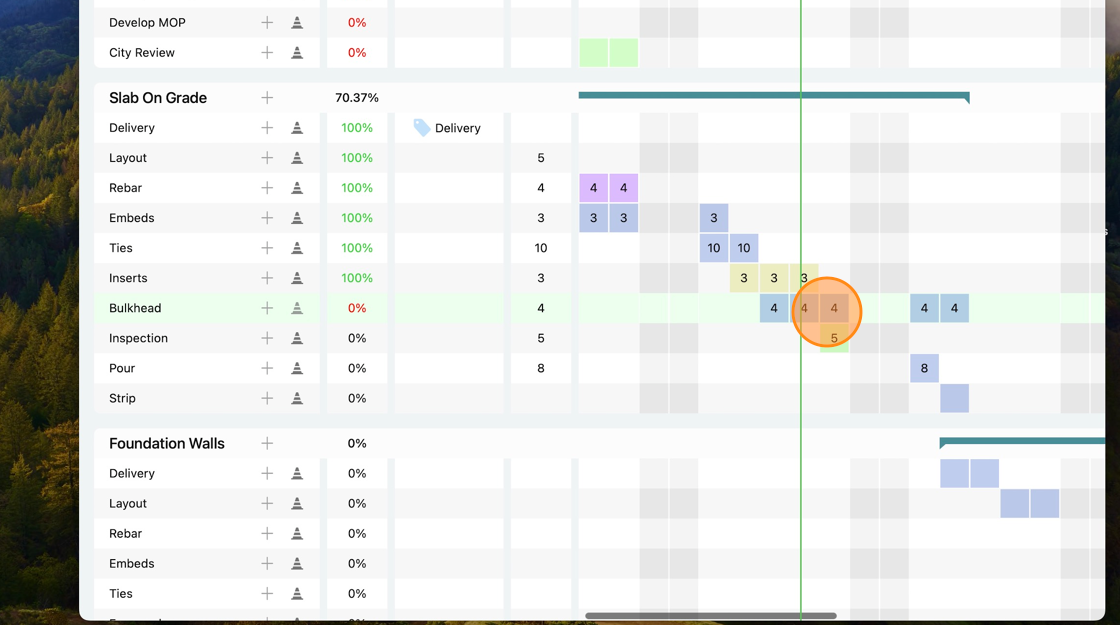
19. Your crew size will appear in the Crew Size column as well as in the task squares that represent the days the work will be performed. For Example, for the Bulkhead task, the crew size is 4 for each of the 5 days of the task.
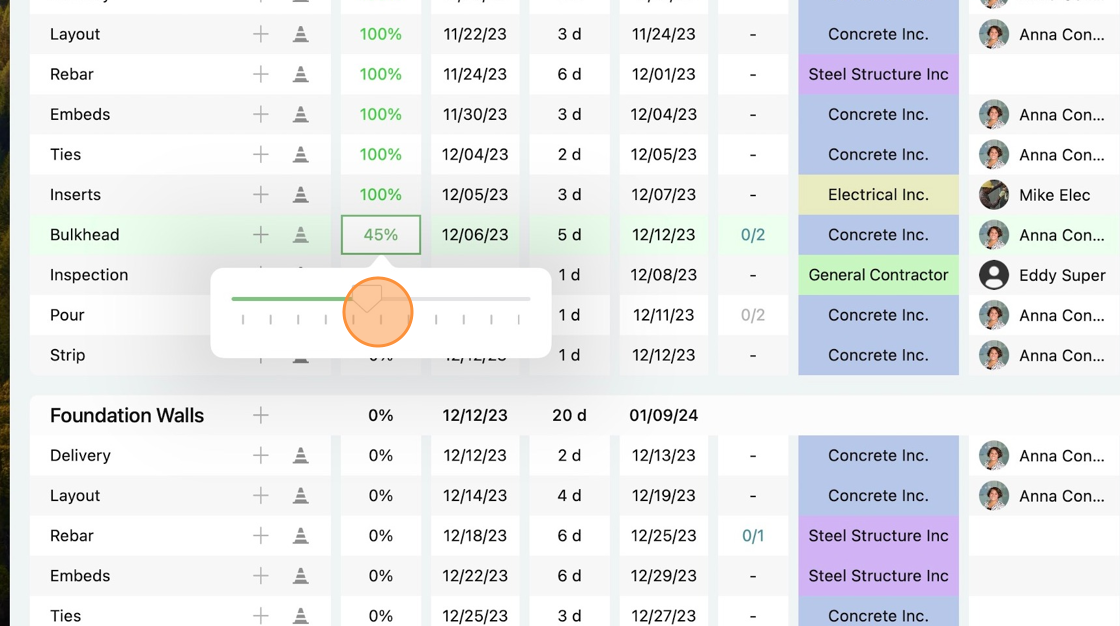
20. Now arguably the most important feature of the iPad app, is the ability to update progress of the tasks. This progress automatically feeds to the Master Schedule, so that the Master Schedule is always current. Simply, select the Progress in the column and slide the progress bar to the appropriate percentage.
21. You will receive a notification in the top right corner, making you aware that the Progress was updated successfully and will be reflected in the Web version of Outbuild as well.
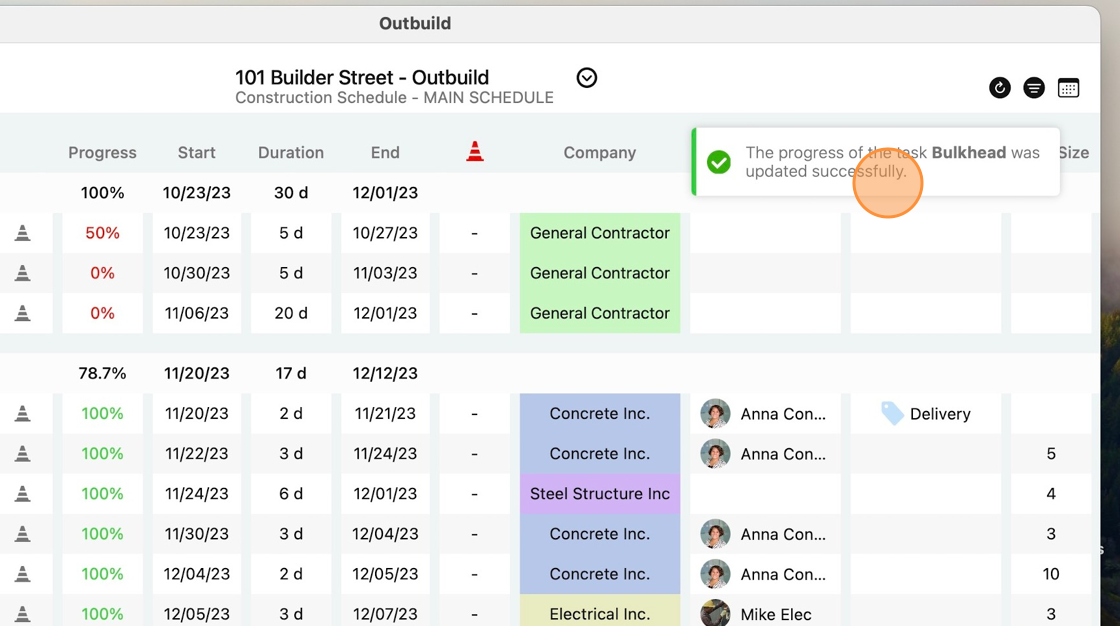
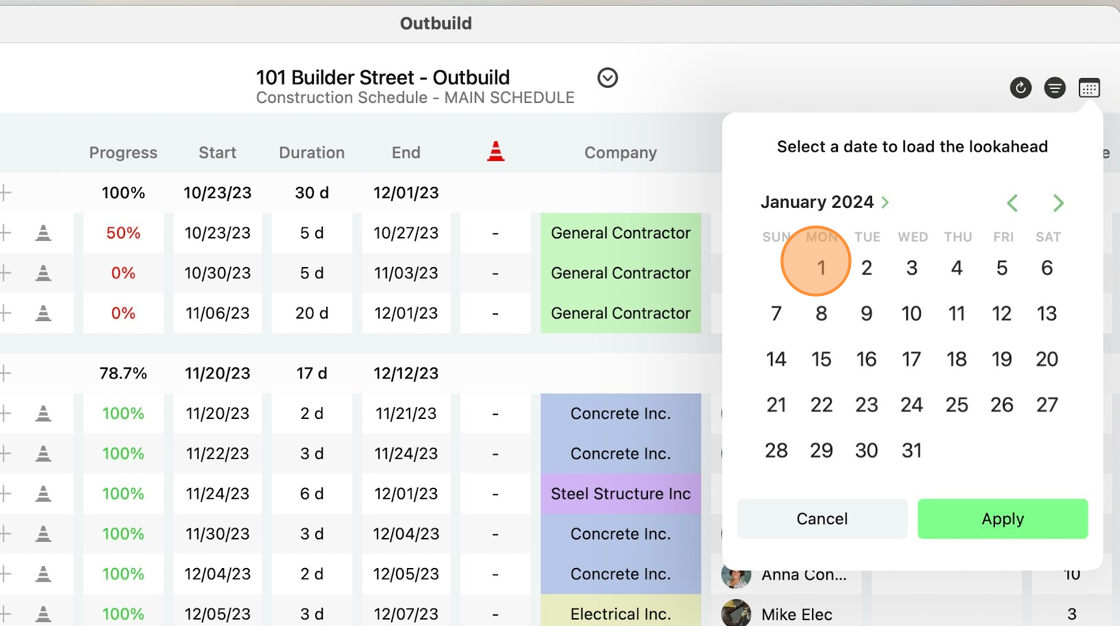
22. Our latest update, enables you to view a different date range of the Lookahead. To start the lookahead from a different date, click the Calendar icon in the right corner.
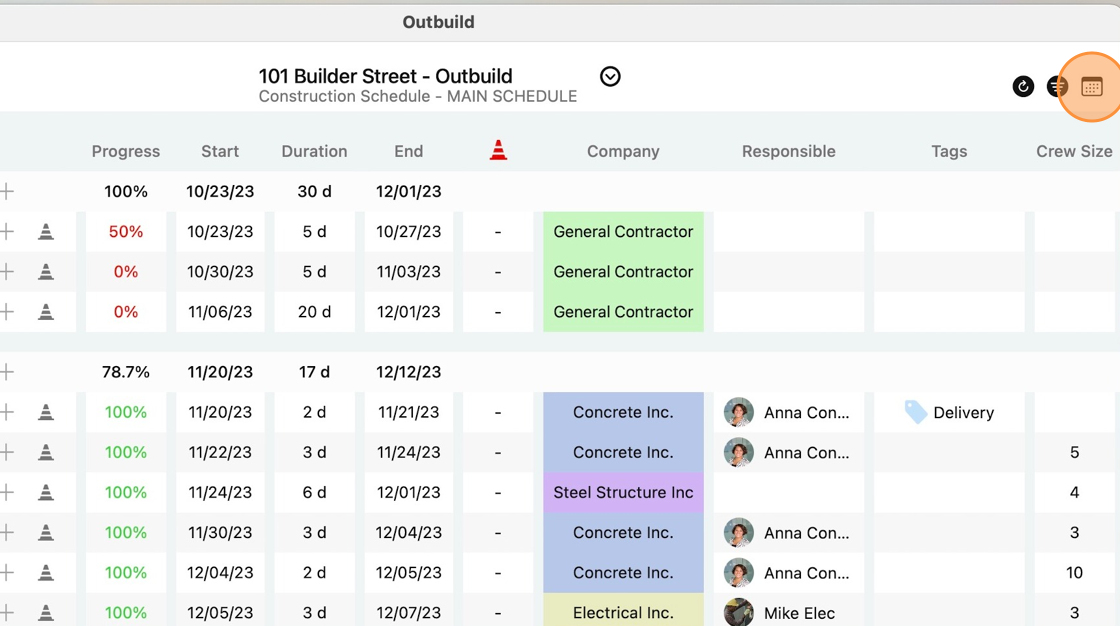
23. Select a new date and hit the green Apply button. Now your Lookahead will generate four weeks out from the date selected.
